
A wedding is a very special moment and of course you want to leave an unforgettable impression. Both for the bride and groom and the guests who attend. One way to create an impressive first impression is to create a unique welcome sign. For many couples, renting or buying a wedding welcome sign can be an option. However, there is a more creative alternative through DIY wedding welcome sign mirror.
Why Choose a DIY Wedding Welcome Sign Mirror?
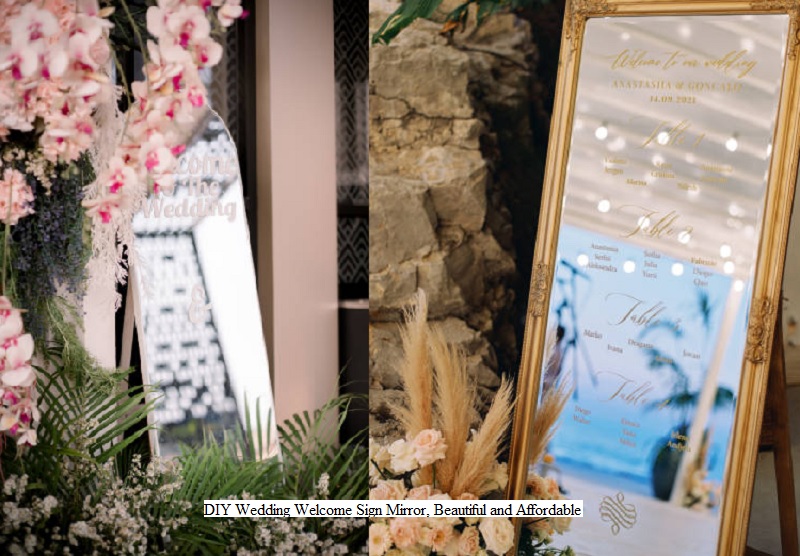
Using mirror glass as a medium for a wedding welcome board not only gives an elegant and modern impression. More than that, it is also a more affordable way to decorate a special event.
By doing DIY (Do-It-Yourself), we can even arrange the design according to the wedding theme. In addition, this activity can be a fun experience involving couples or close friends. Now, let’s discuss the steps to make wedding welcome sign mirror that is easy and cost-effective.
1. Prepare Materials
Before starting, make sure you have prepared all the necessary materials. The materials for DIY wedding welcome sign mirror include:
- Rectangular or round mirror glass according to taste
- Glass paint
- Brush or permanent marker
- Stickers or decorative accents
- Ribbon or string
- Flowers for wedding decorations
- Smoothing paper or sandpaper
2. Create Text Design and Determine Layout
Before you start writing on the mirror glass, first plan the design and text you want to display. To make it easier, we can imitate the steps on the Amy Makes That YouTube channel. Where Amy first designs her writing using the Cricut application.
Choose a font or writing style that suits the theme. We can use letter stickers or other models available in the application. Don’t forget to make sure the size fits the mirror so that it is not too big or too small.
3. Write on the Mirror
If you want to write it yourself, use a permanent marker or glass paint. For example, write welcoming words such as “Welcome to Our Wedding”, the names of the bride and groom, or romantic quotes.
The disadvantage of writing a DIY wedding welcome sign mirror is that you have to be careful and slow so that the writing is neat. For a more elegant effect, try using calligraphy or lettering techniques that can be practiced with brushes and glass paint. Meanwhile, if you use sticky sticker writing, just arrange it carefully in the most fitting corner.
4. Adding Additional Touches
For a more attractive impression, don’t forget to add decorations around the mirror. For example, beautiful ribbons, fresh or artificial flowers, and wooden frames with colors that match the theme. Mirrors with rustic wooden frames will be very suitable for vintage or bohemian wedding themes. If you want something more modern, you can choose a metallic or gold frame.
5. Finishing and Installation
After all the designs are complete, you can install a wedding welcome sign mirror in the entrance area or guest reception area. But before that, try to make sure the mirror is not dirty. Based on YouTube Amy Makes That, we can ensure the clarity of the mirror using alcohol.
The method is to use smoothing paper or a clean cloth and spray it with alcohol. After that, gently wipe the glass surface until it is completely clean.
After that, try to install the mirror firmly, especially if using a rope or ribbon to hang it. If you want to put it on a table, just make sure that the mirror is stable so that it doesn’t fall easily. So, making a DIY wedding welcome sign mirror is a fun way, right? Not only does it beautify the event. But it also allows you to express your creativity and personalization with your own touch. Good luck!